There are times when a PowerApps user needs to see a large image at full screen. When that’s the case, you want to make sure the user experience is a good one for them. At Confluent, we use a standard process to create full-screen image pop-outs, which provides the best of both worlds.
Here’s how it works:
- Open PowerApps.
- Open a template app, like the Product Showcase.
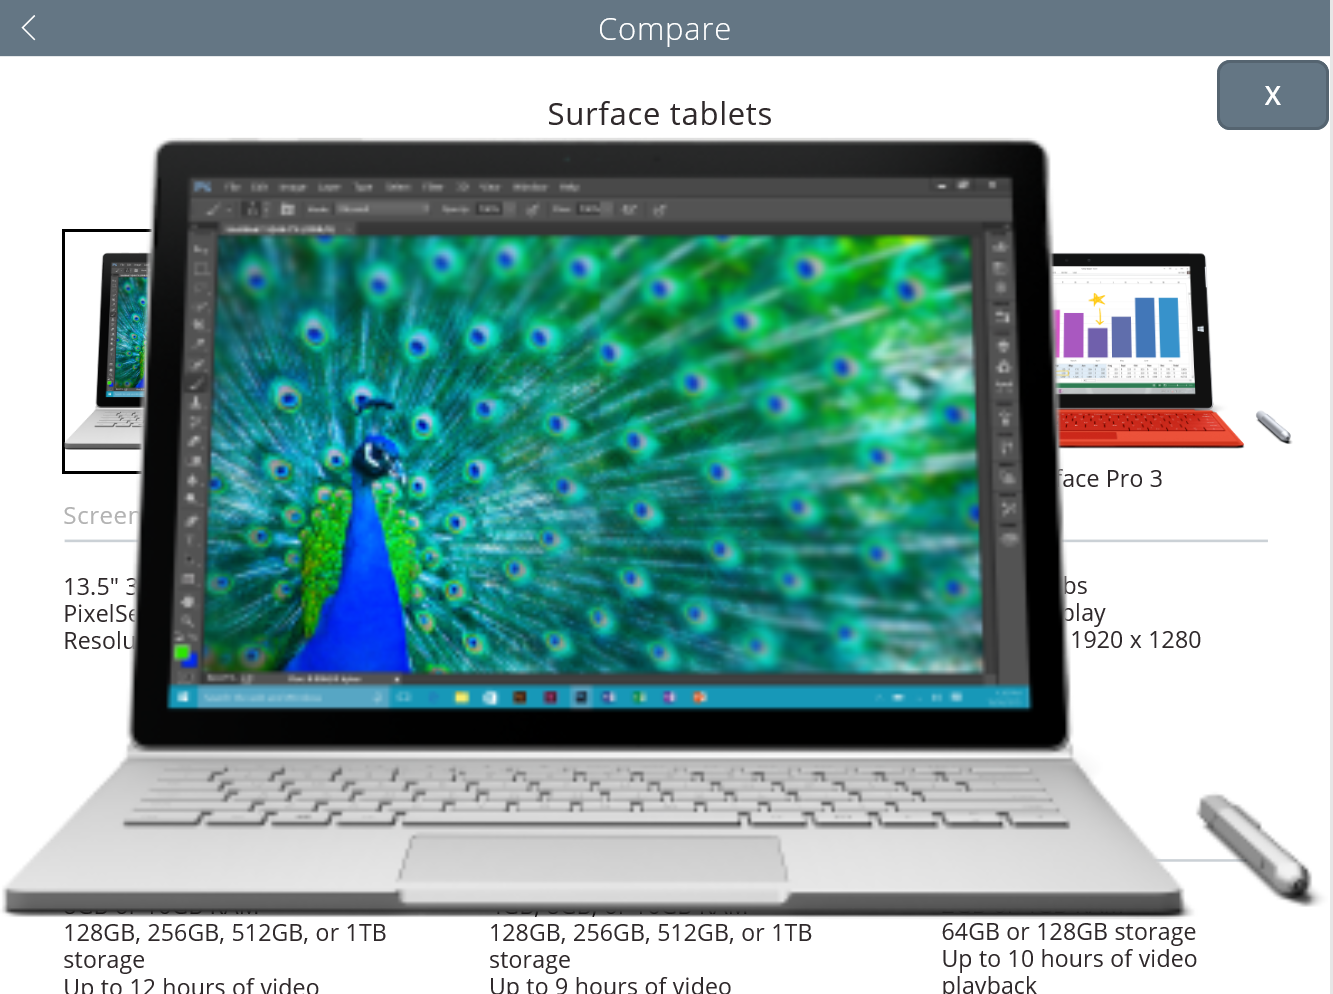
- Go to the Compare Products screen.
- Insert a new image media type onto the page. We will use this to appear when you click on one of the three Surface items on the page.
- Resize it so it is nearly the size of the entire screen.
- Add a button to the screen. Move it to the top right of the image, and change the name to X rather than button.
- On the image, go to the property called image and insert this code: ” MyBigPic “ and then set the visible property to ” If(Len(Text(MyBigPicShow)) = 0,false,MyBigPicShow) “
- On the button, add to the on select property: ” UpdateContext({MyBigPicShow:false}) “ and set the visible property to ” If(Len(Text(MyBigPicShow)) = 0,false,MyBigPicShow) “
- On each picture, add the following to the on select: ” UpdateContext({MyBigPic: surface_book});UpdateContext({MyBigPicShow:true}) “ and be sure to change the name of each photo.
Now when you click on each photo, it will appear full screen. Then the user can choose to close it out using the X button.
Sometimes we will grey out the rest of the screen so the picture stands out. This feature uses variable to pass the image and the status between the three components.
Written by Power User and Managing Partner Evan Chaki, this post was originally published on the Confluent blog.


 ManishM
on:
How do you bulk download attachment files from a D...
ManishM
on:
How do you bulk download attachment files from a D...
 on:
What you should know when recruiting for a Power P...
on:
What you should know when recruiting for a Power P...
 on:
Introduction of AI Builder in Power Automate: How ...
on:
Introduction of AI Builder in Power Automate: How ...
 on:
Top-down 2D game engine proof of concept
on:
Top-down 2D game engine proof of concept