Walking through how to refresh datasets and create near real time reports in Power BI with the PowerApps Custom Visual.
There is also a video on this topic here
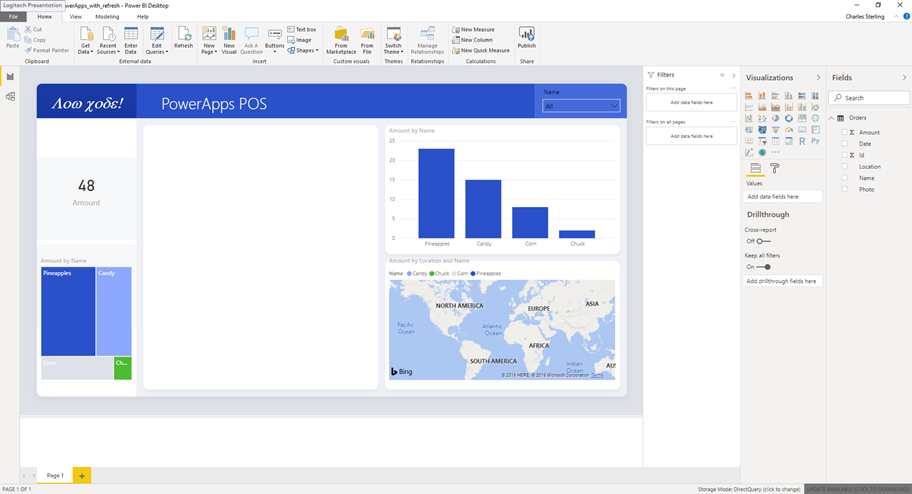
Starting from Power BI we need a report that is based on Direct Query. To save time you can download this report from here:
https://community.powerbi.com/oxcrx34285/attachments/oxcrx34285/DataStoriesGallery/3027/2/PowerApps_...
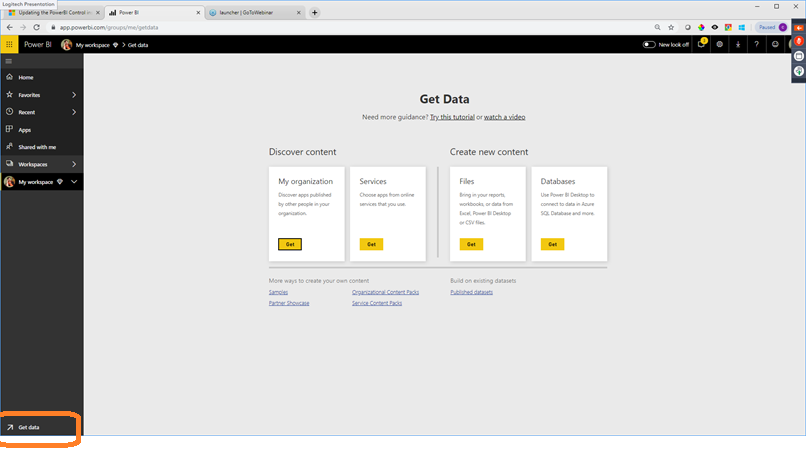
Upload the report to Power BI.com
- Please log into Power BI https://PowerBI.com using the supplied accounts i.e.
PAUser1@powermvps.com – PAUser108@powermvps.com
Pass@word1
To save some steps the directions will just show doing this from “My Workspace” ….please remember “my workspace” is not really a recommended location.
- Select “Get Data” and then Files
- Select Local File and upload the PowerApps_with_refresh.pbix file from step #1
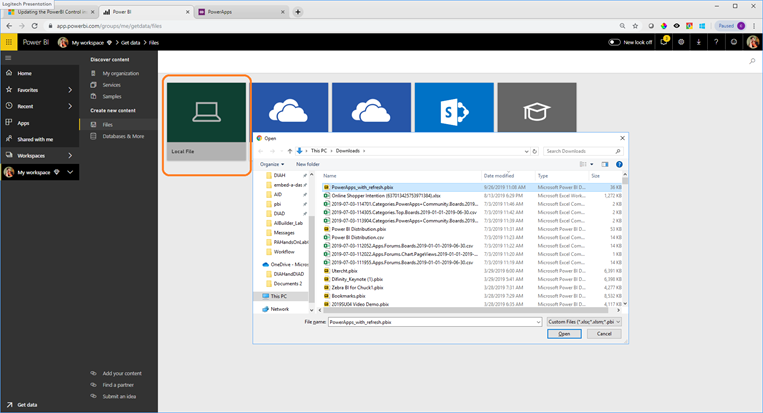
https://community.powerbi.com/oxcrx34285/attachments/oxcrx34285/DataStoriesGallery/3027/2/PowerApps_...
-
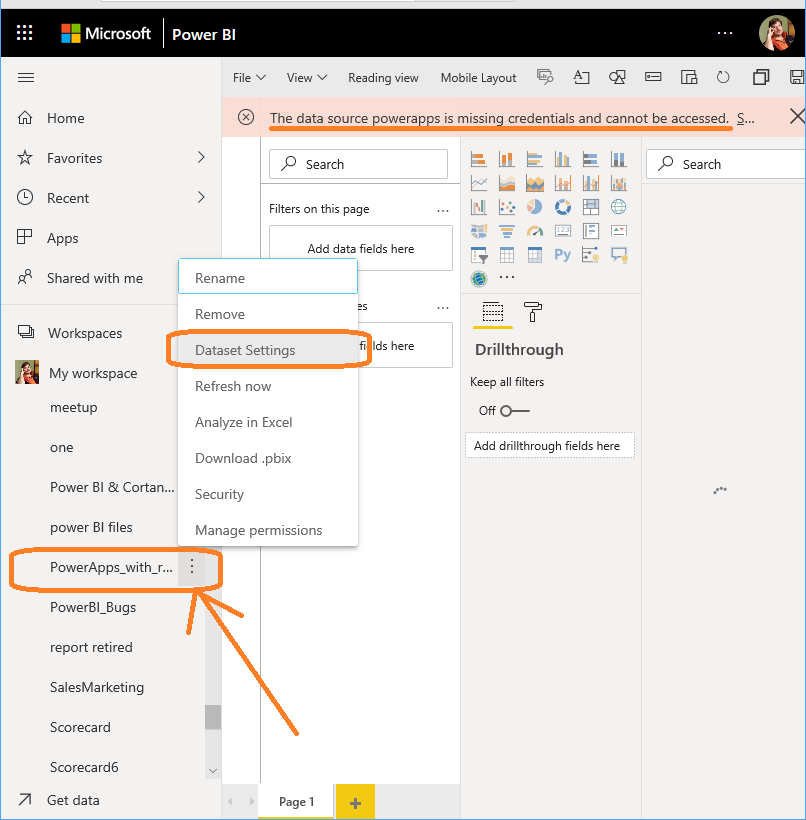
Update the security for the report connection back to the SQL Server by clicking on the three dots after PowerApps_with_refresh Dataset.
IF you don’t see the Datasets click on “My Workspace” to expand out the artifacts in the workspace. …this may require a couple of attempts!
IF you don’t see the Datasets click on “My Workspace” to expand out the artifacts in the workspace. …this may require a couple of attempts!
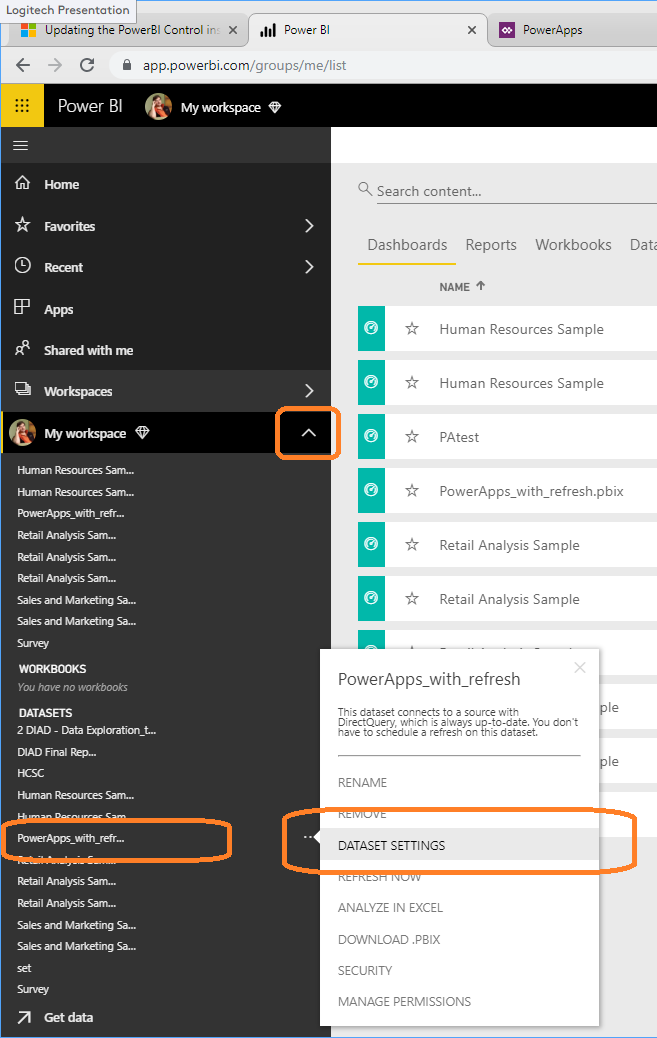
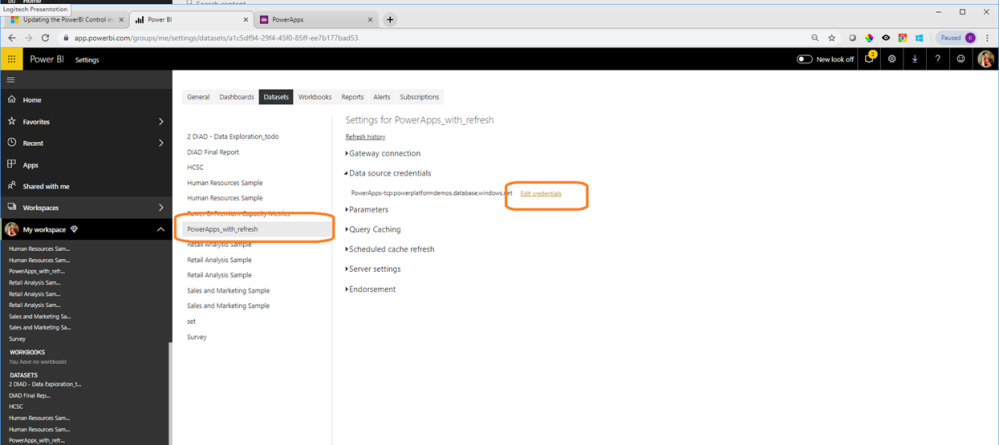
- To update the connection credentials, click on dataset settings, click on the “PoewrApps_with_refresh dataset and then select “Edit Credentials”.
-
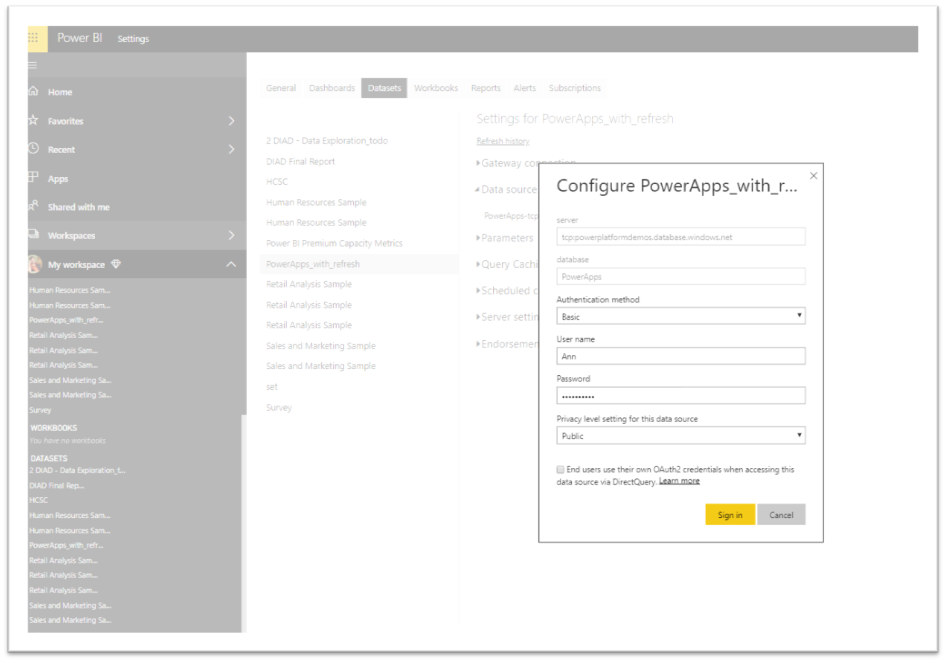
To configure the credentials to use the
basic authentication method with the Username:
Ann and password provided.
Pass@word1
-
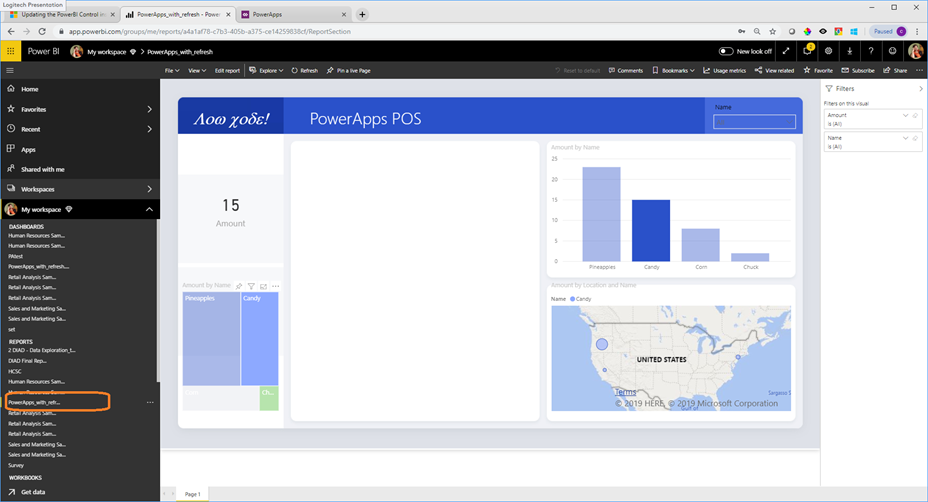
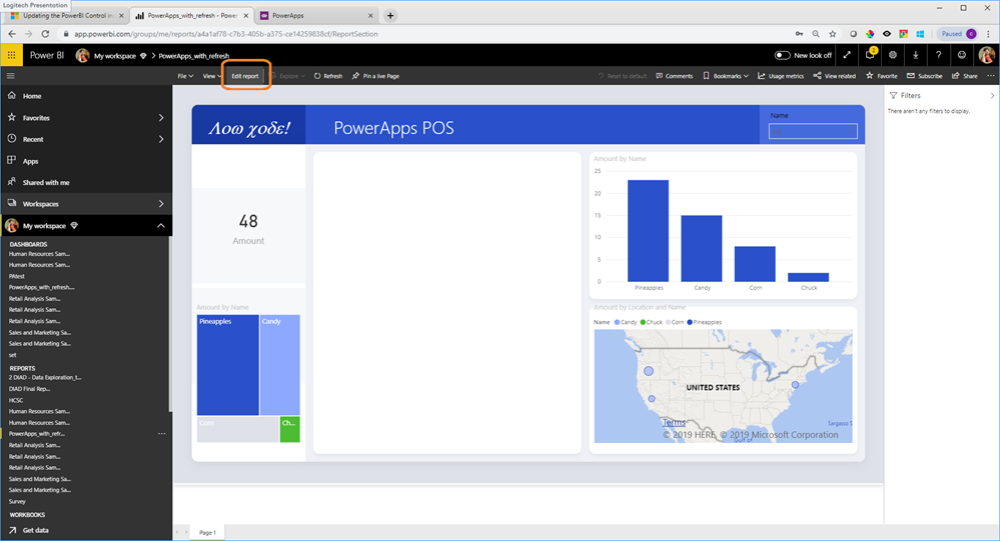
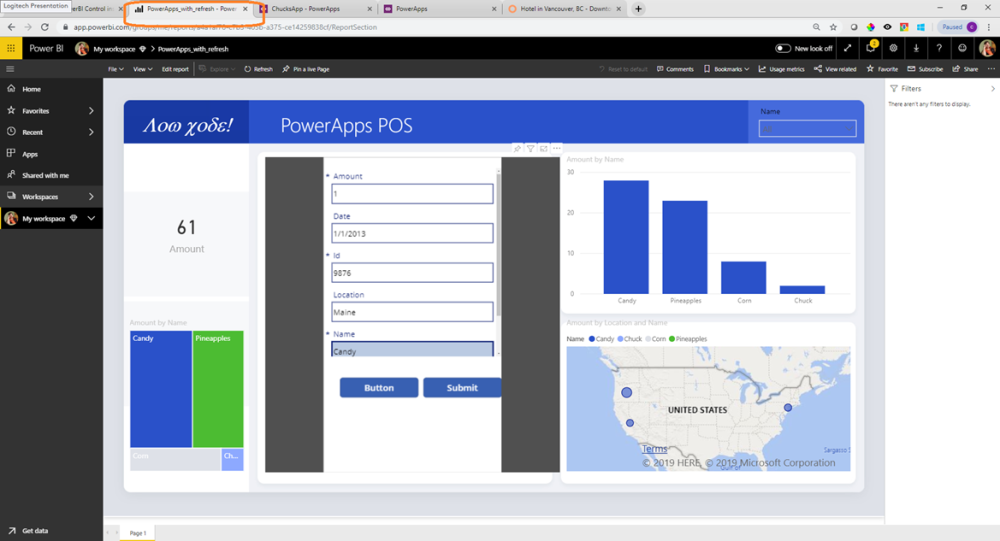
Test the report that it is working!
-
Edit the report to add the PowerApps Custom Visual
-
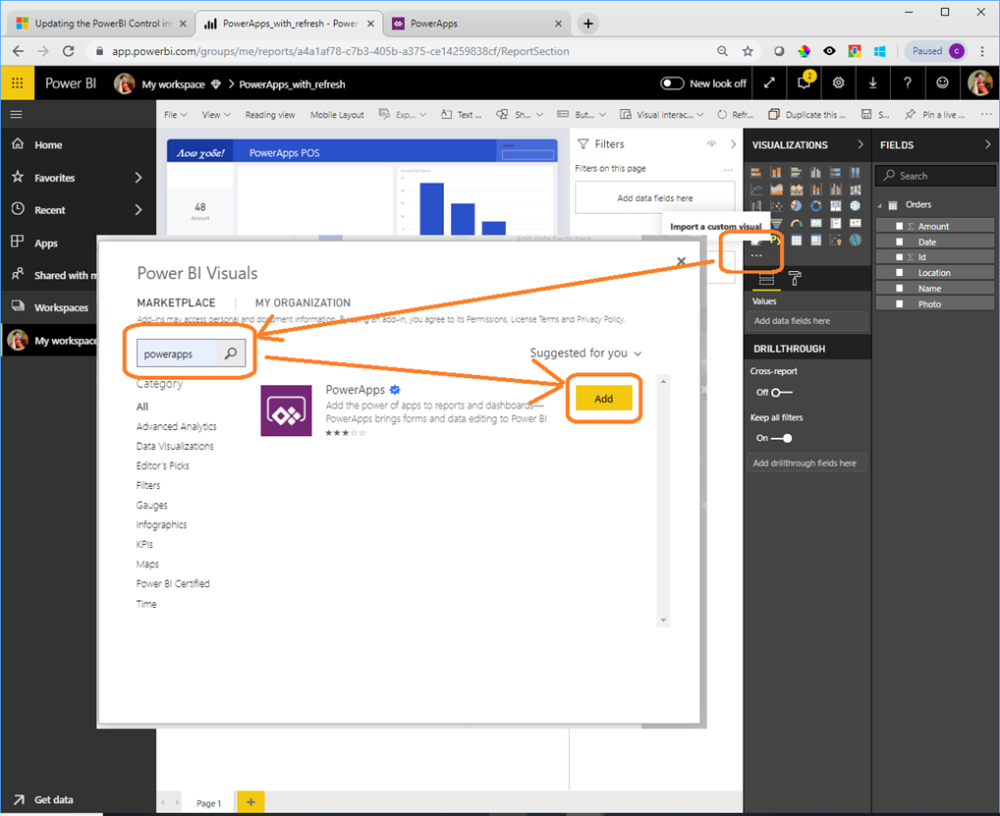
Log in to PowerApps (https://powerapps.microsoft.com) and Add the PowerApps Custom Visual to the report

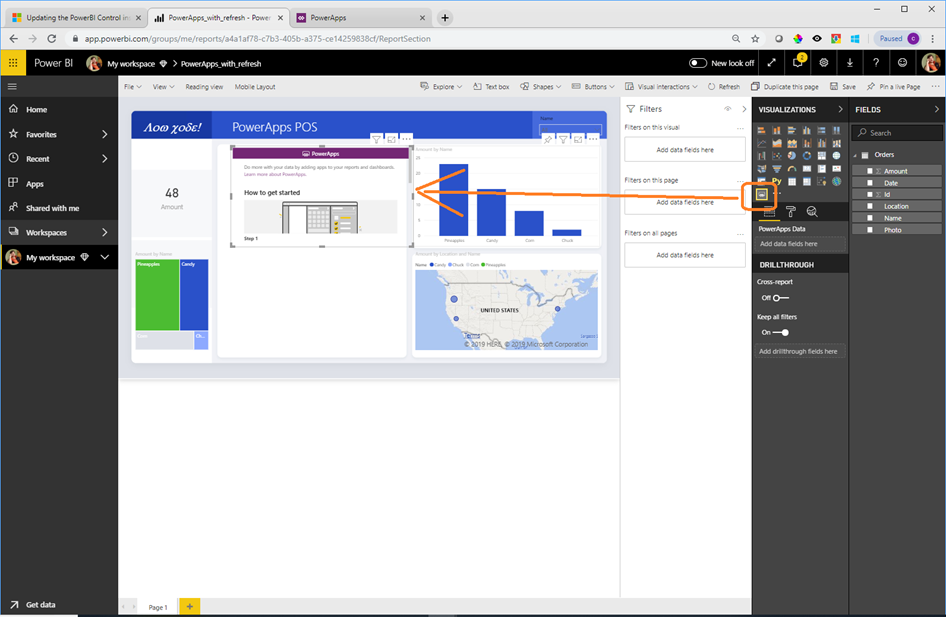
- Add the custom visual to the report canvas
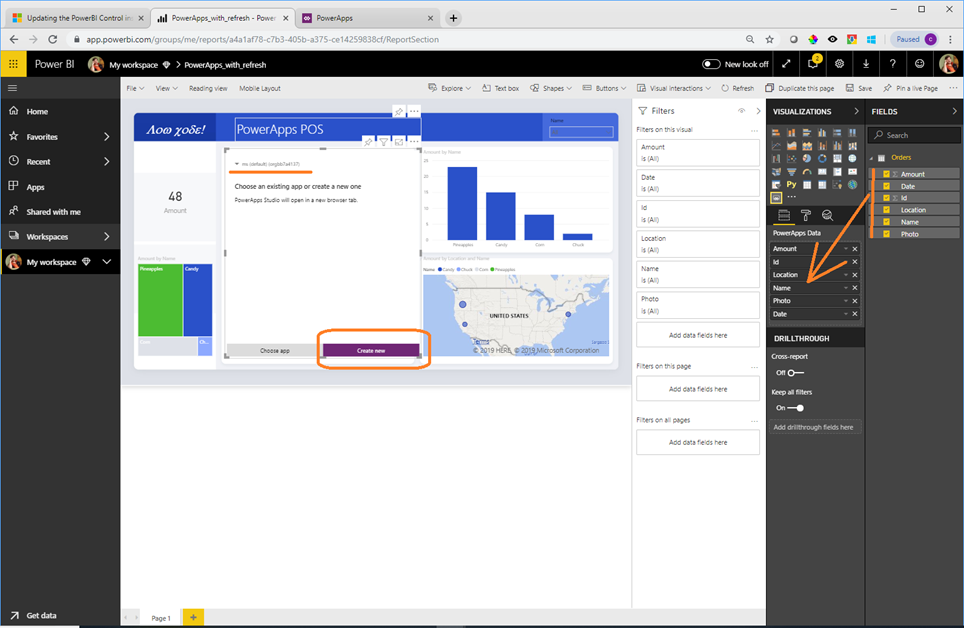
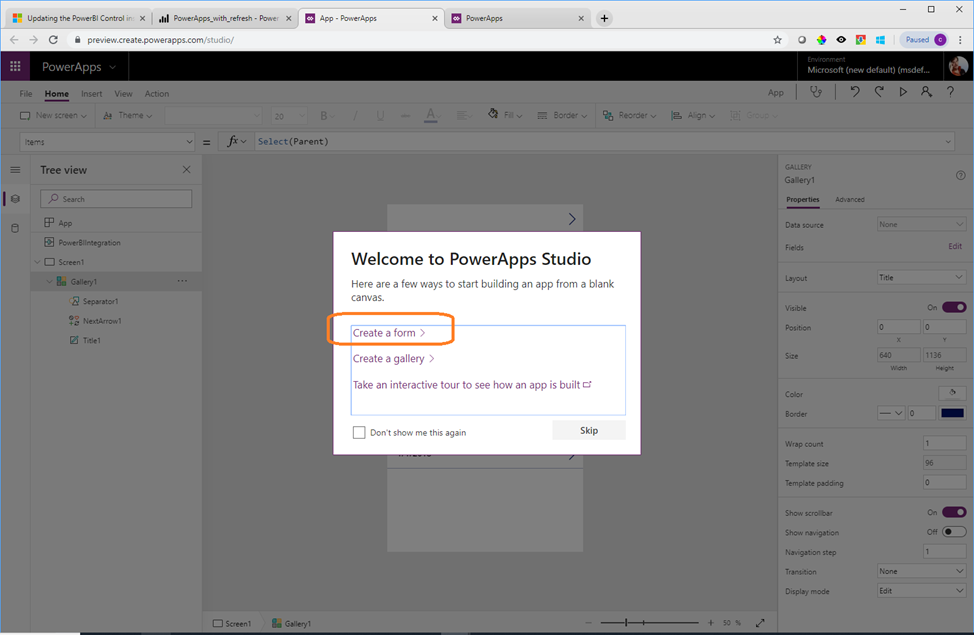
- Add all the fields to the Visual and specify we are building a new application and note the environment
- In the new form wizard specify to add a form
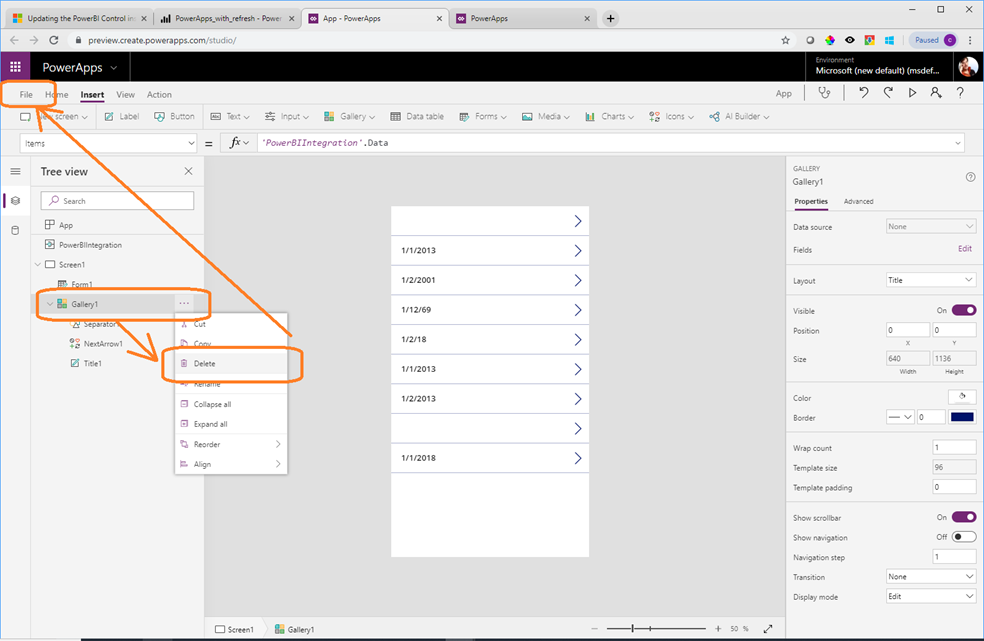
- Delete the default Gallery as it won’t be used. (note it is already populated with data from Power BI)
- Specify a Data source for the PowerApps form.
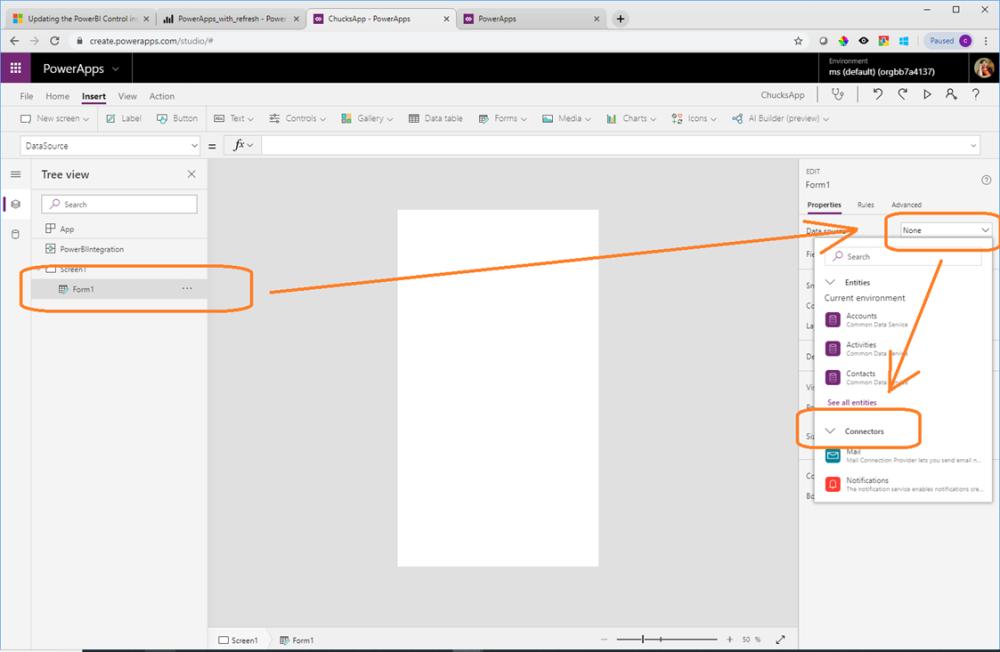
17. Specify the data source is a SQL Server source
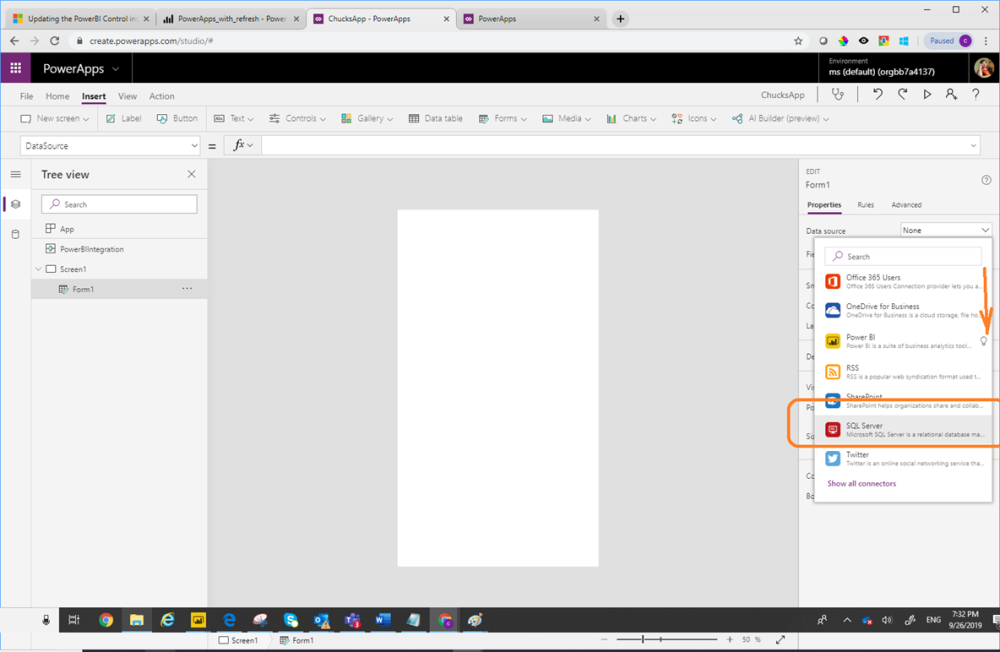
18. Specify to use a new connection
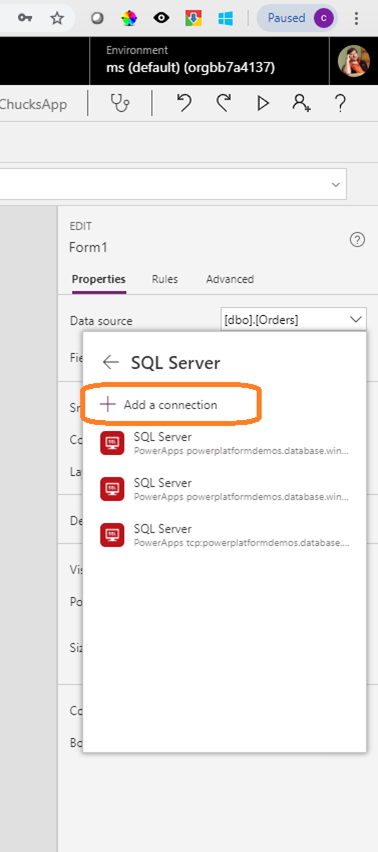
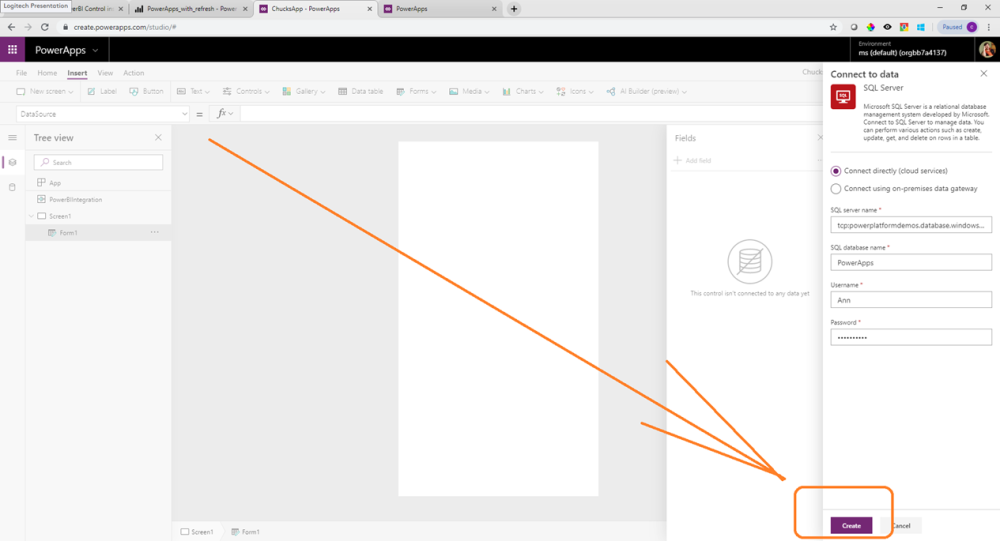
19. Create a new SQL Connection
Supply the following Data for the connection String
Server: tcp:powerplatformdemos.database.windows.net
User: Ann
Password: See front of class
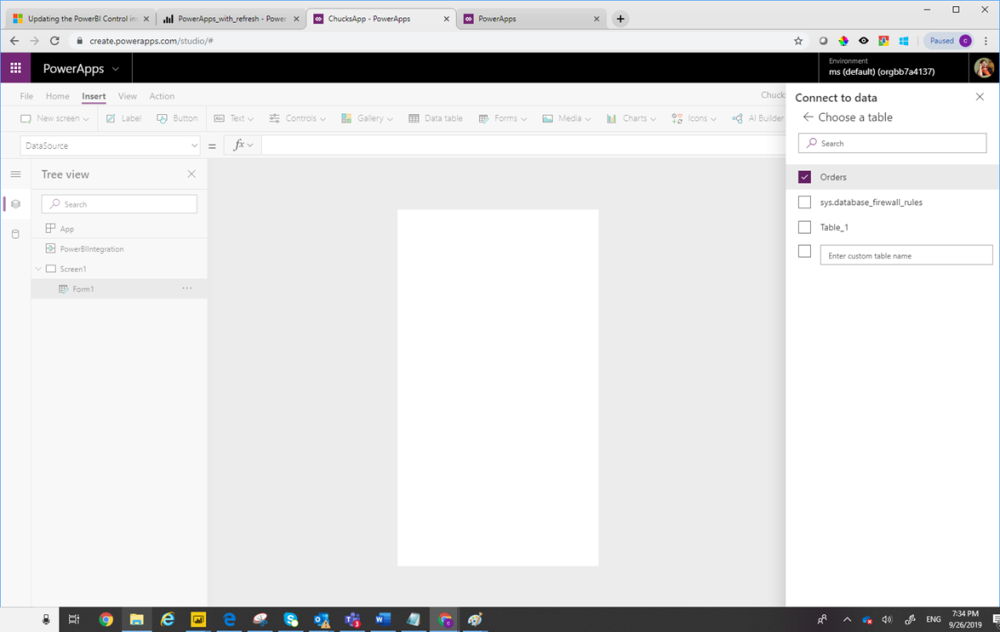
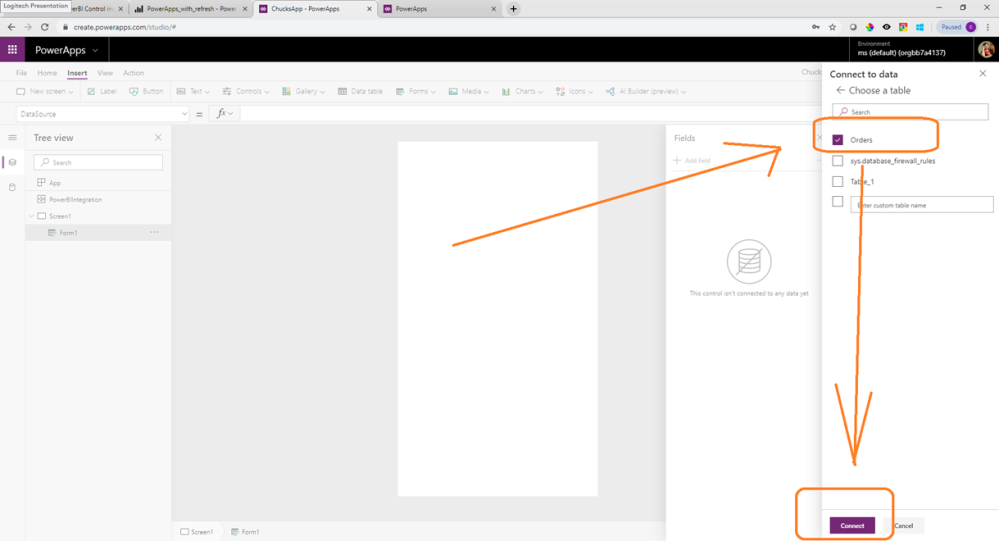
20. Specify to use the “Orders” Table
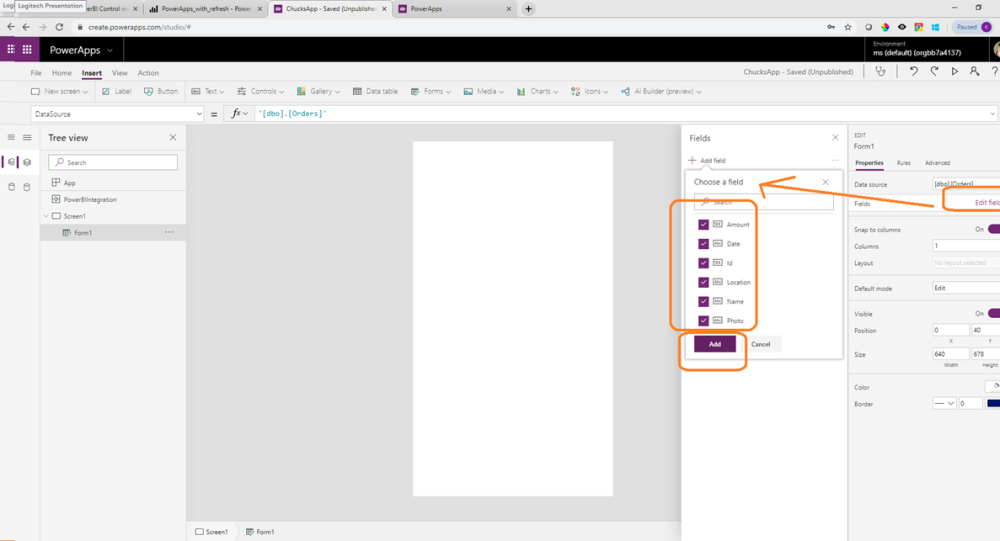
21. Select the fields property for the form.
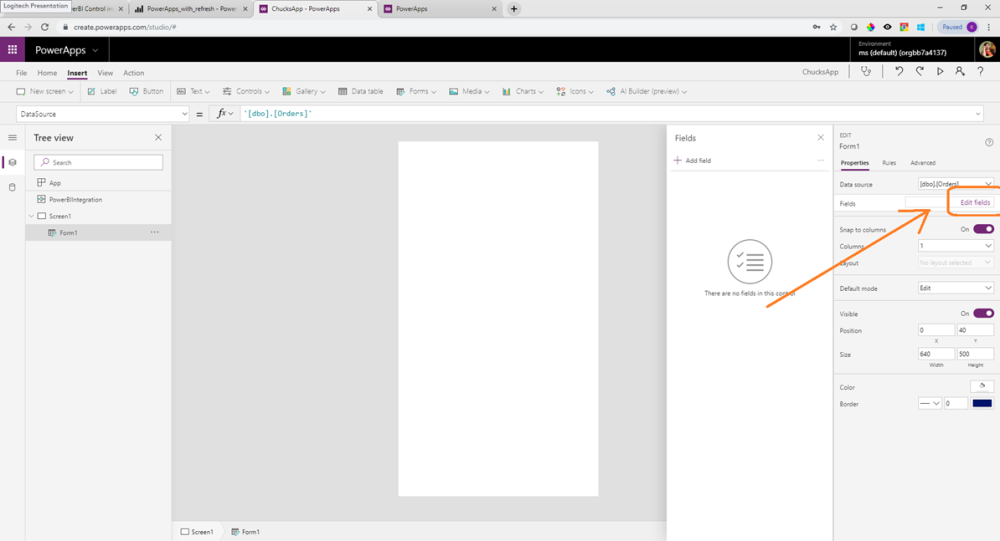
22. Specify to use all the fields
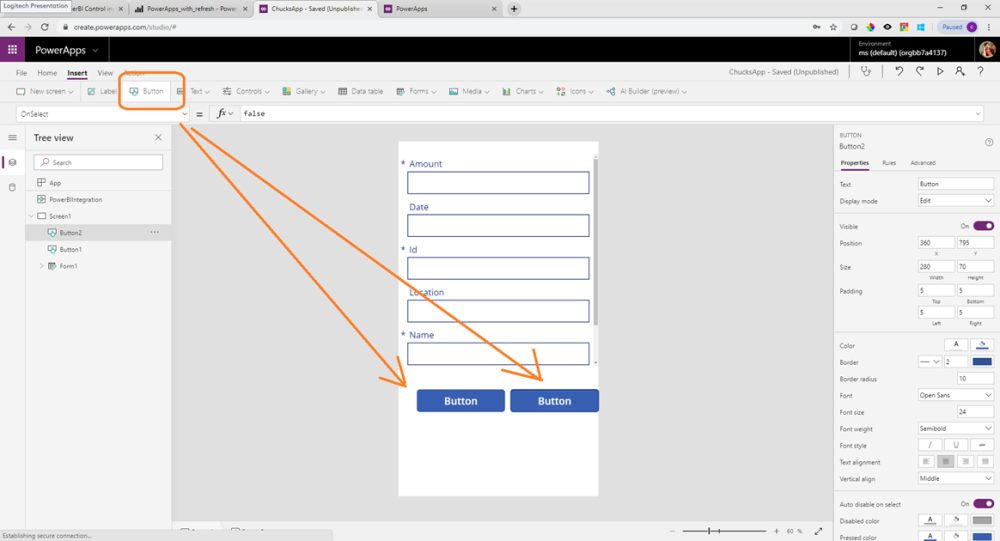
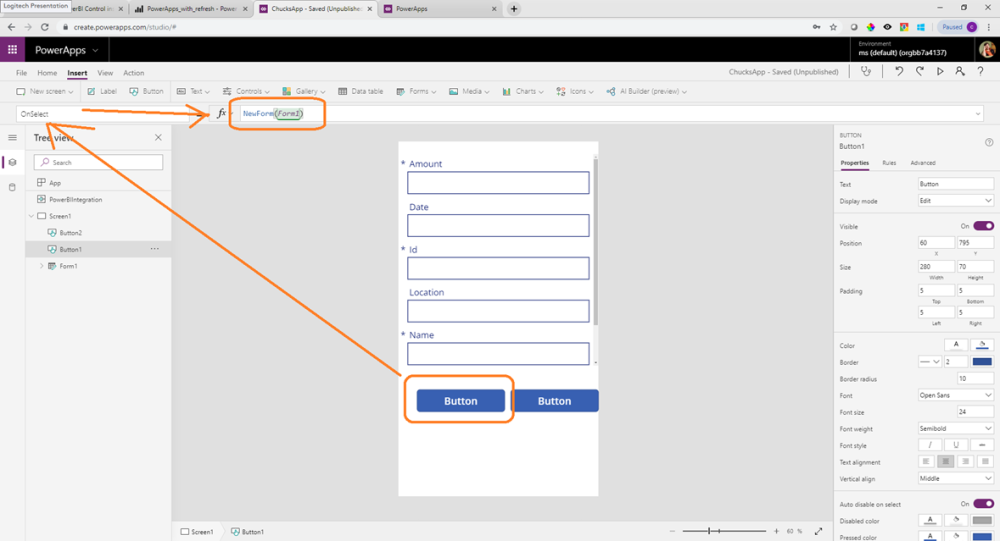
23. Add Two Buttons
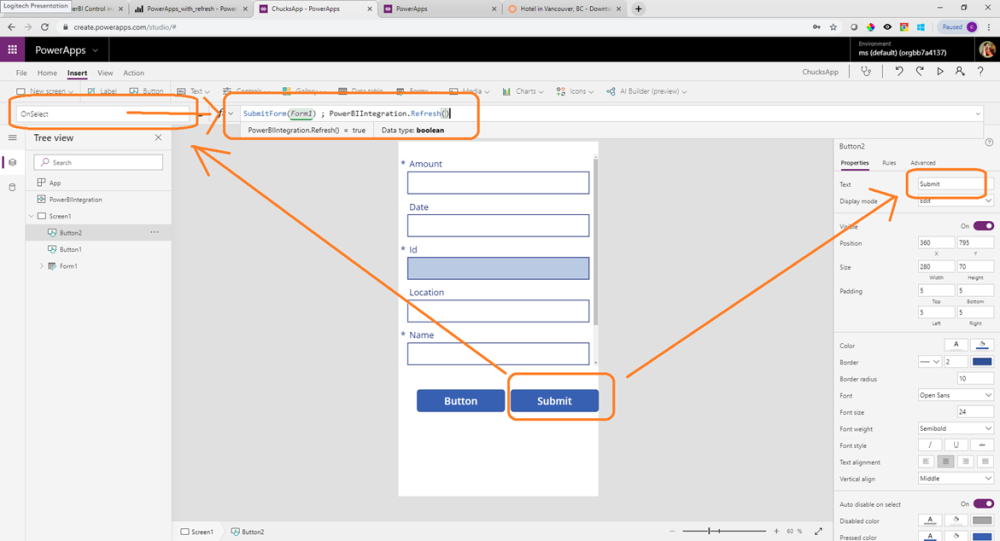
24. Set the OnSelect property to:
SubmitForm(Form1) ; PowerBIIntegration.Refresh()
Also Set the Text property to “Submit”
25. Set the onselect property of the first button to:
NewForm(Form1)
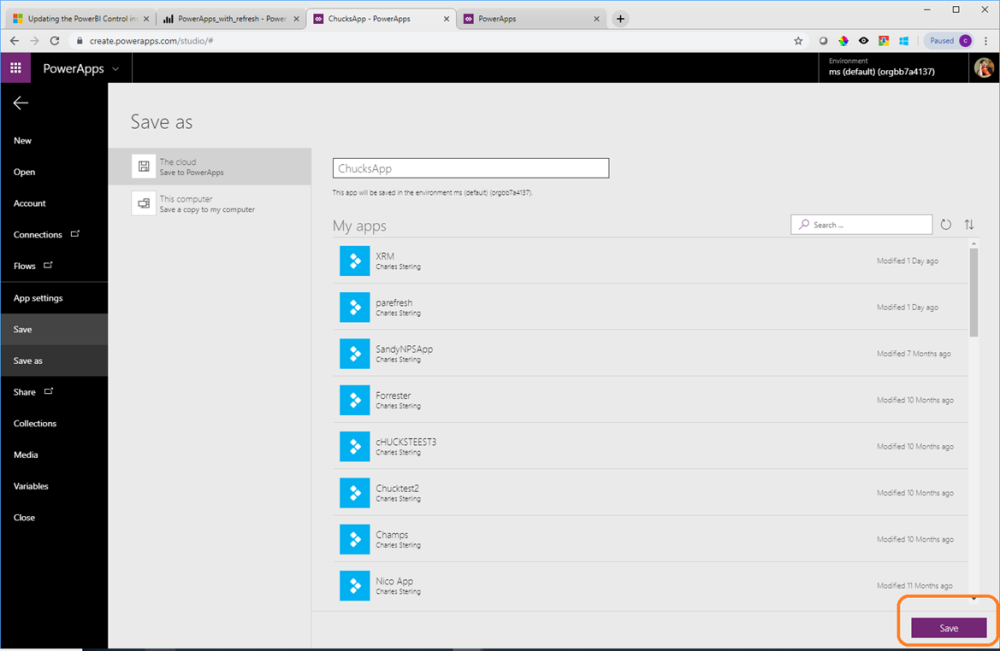
26. Save your application File > Save > Save (yes two of them!)
27. Test your application!!!!!!!!!!!!!!!!!
 ManishM
on:
How do you bulk download attachment files from a D...
ManishM
on:
How do you bulk download attachment files from a D...
 on:
What you should know when recruiting for a Power P...
on:
What you should know when recruiting for a Power P...
 on:
Introduction of AI Builder in Power Automate: How ...
on:
Introduction of AI Builder in Power Automate: How ...
 on:
Top-down 2D game engine proof of concept
on:
Top-down 2D game engine proof of concept
 WarrenBelz
on:
Locking down SharePoint so only Integrated App can...
WarrenBelz
on:
Locking down SharePoint so only Integrated App can...